Hello friends and welcome to Obsidian Soft,
In this tutorial, I will show you how to publish app on the Play Store (Google). Before I begin, a disclaimer: This video is being made in 2023 so it is according to Google’s publishing policies in 2023. Also, in this guide, I will particularly focus on apps made using MIT App Inventor but it can also be used by apps made using other IDEs such as Unity, Andriod Studio, etc.
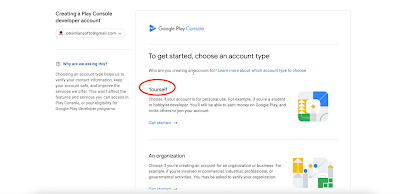
First of all, you need a Google Play Console Developer account so go to this link:
https://play.google.com/console/signup
and sign up for an account by paying a small fee (choose “yourself“ if you are an independent app developer like me 😉)
Once you have done it, you are ready to publish your new app.
📢📢📢📢📢📢
IMPORTANT NOTICE:
If you created your Google Developer personal account after 13 Nov 2023, you cannot publish your app directly to the Play Store. You need to publish it first to a closed testing track and get it tested by a minimum of 20 testers who opt in for testing for 14 days.
More details here:
https://support.google.com/googleplay/android-developer/answer/14151465?hl=en&sjid=8992227834423002236-EU
I would recommend contacting your friends/family for help with this. The 20 testers must keep your app installed on their devices for at least 14 days.
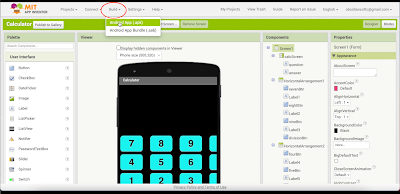
Go to MIT App Inventor and make sure that your app is ready for publishing. Test your app by installing the APK on different Android devices with different Android versions.
For demo purposes, I will be showing how to publish a Calculator app (I have also published both a written tutorial and a video tutorial for making this app)
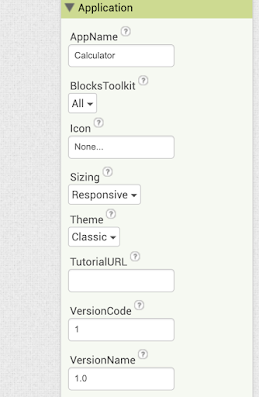
Fix your app name to the actual name of the app that you want to display on the device.
Upload an icon of max 1024 by 1024 pixel square image (PNG or JPG).
The build server of MIT App Inventor will generate images of standard dimensions for Android devices.
There is a popular opinion on the official MIT App Inventor forum to upload 192 by 192 pixels for Android apps to reduce the APK size; however, you do need a 512 by 512 pixels icon for your Google Play Store page.
Now, generate your app bundle.
Next, get some information and graphics ready for your app.
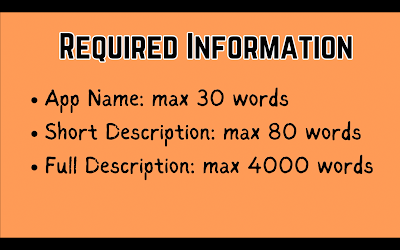
You need the following for the Google Play Store page of your app:
App Name: max 30 words.
Short Description: max 80 words
Full Description: max 4000 words
Also, you need some graphics assets. The minimum assets required are:
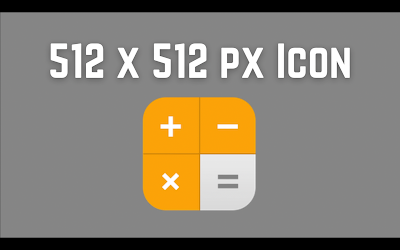
App Icon: 512 px by 512 px jpg or png. Don’t use the word full or free in it as it isn’t allowed anymore.
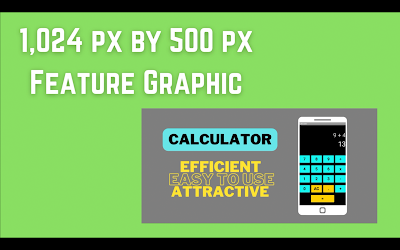
Feature graphic: Your feature graphic must be a PNG or JPEG, up to 15 MB and 1,024 px by 500 px.
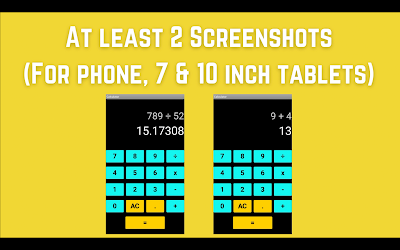
Screenshots: At least 2 are required but up to 8 for phone, 7-inch tablet, and 10-inch tablet respectively.
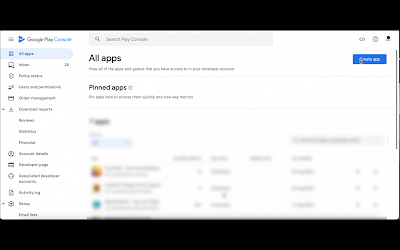
After creating these graphics, proceed to Google Play Console Developers page
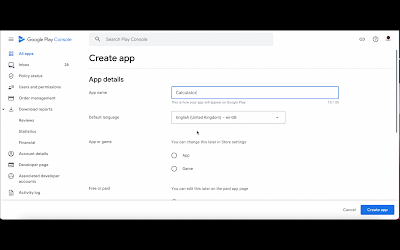
Press the “Create App” button.
Fill up general app information such as App name (max 30 words) and language.
Specify whether the app is free or paid. Be careful with this selection as you can’t change this once the app has been published.
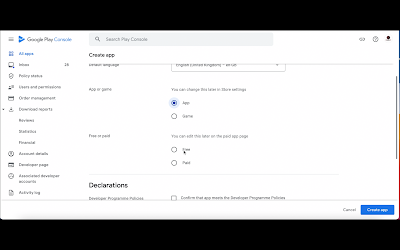
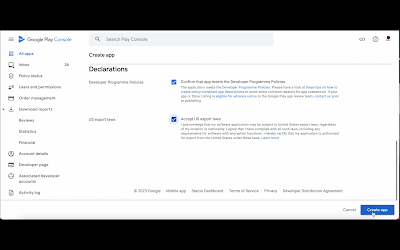
Agree to the policies and export laws and press the “Create App” button.
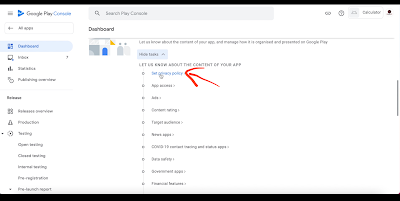
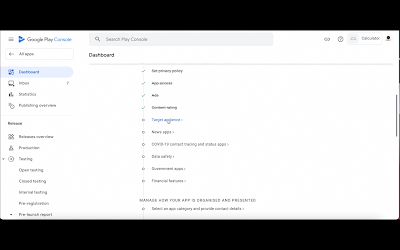
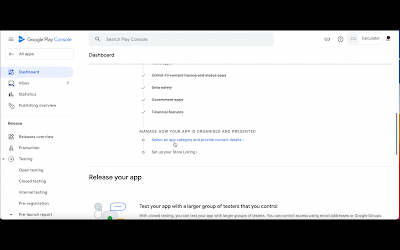
On the next page, scroll down to the Set up your app section and click on arrow next to View Tasks
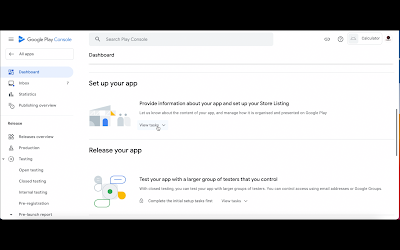
You will be shown a list of tasks that you have to complete one by one. Choose the first task which is Set Privacy Policy.
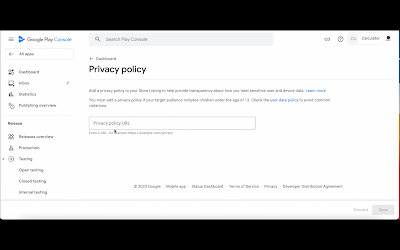
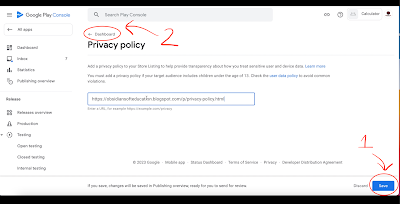
Provide a valid privacy policy link that should point to a static webpage with no advertisements, no comments section, and which is up 24 hours.
Press the save button and then, click on Dashboard to go back to the list of tasks that you have to complete for setting up the app.
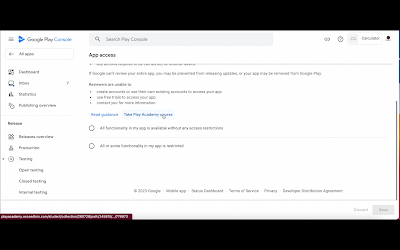
The next section is App Access so choose the appropriate option for your app and press the save button. For example, a calculator app doesn’t have any access restrictions i.e. all features are available for all users. Go back by clicking on Dashboard.
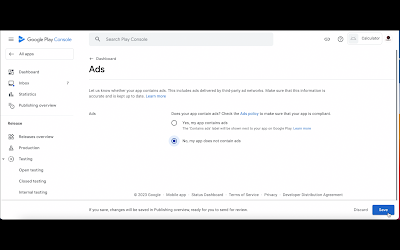
The next section is the Ads section. Choose whether your app shows advertisements or not. Press the save button and then, click on Dashboard to go back to the list of tasks.
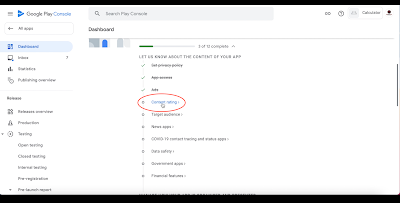
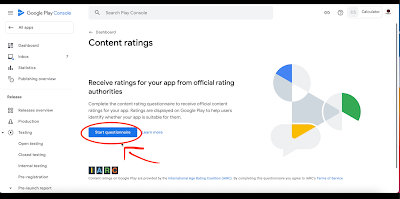
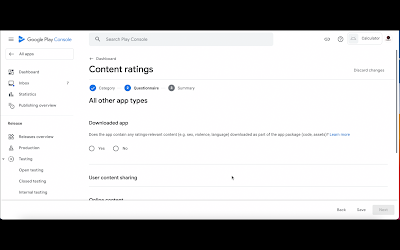
Choose the next task which is Content Rating.
For this, you have to complete a questionnaire.
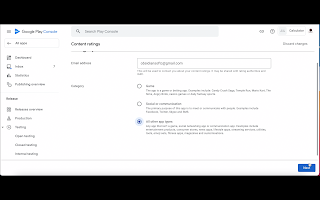
First, provide your email address and specify the category of app (Game, Social or Other). Press the Next button.
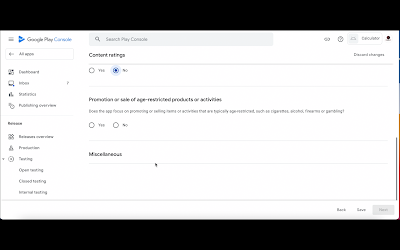
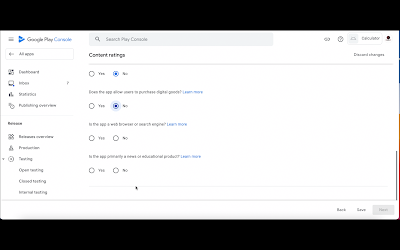
Fill up the questionnaire about your app content honestly and then, press the Save button.
Now, press the Next button.
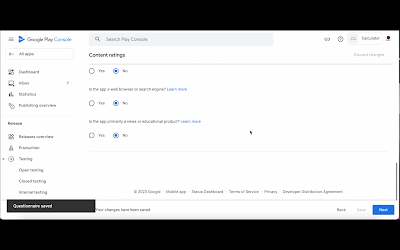
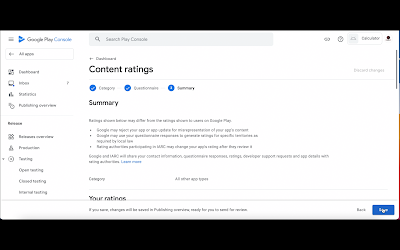
You will be shown a summary of your app rating based on your responses. Press the Save button and go back to the list of tasks by pressing the Dashboard link.
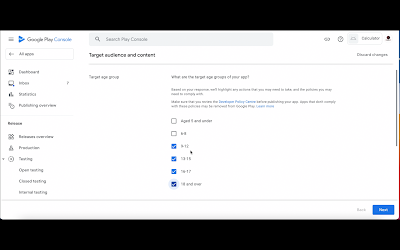
Now, you have to provide information about the Target Audience of your app.
Check all the checkboxes for age groups that are applicable for your app’s target audience and press the Next button.
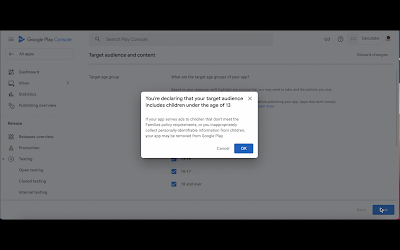
If you choose children under the age of thirteen (13) years, you need to verify this by clicking OK on a special dialog. The review of your app will be stricter if your app’s target audience includes children <13 years of age.
you have to fill up an App details form for collection of private information. Fill it and press the Next button.
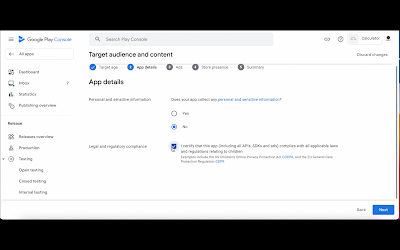
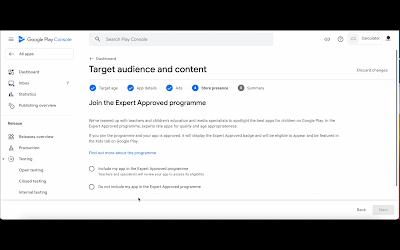
Answer appropriately about the expert-approved program meant for special educational apps and press the Next button.
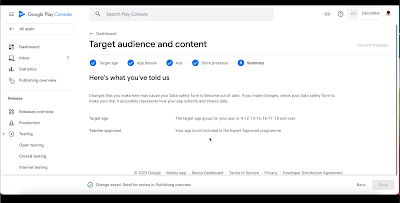
A summary will be shown for your Target audience and content section. Just go back to the list of tasks by pressing the Dashboard link.
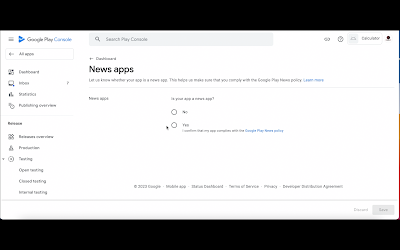
The next section is for specifying whether your app is a news app or not. Provide correct information, press the Save button, and go back to the list of tasks by pressing the Dashboard link.
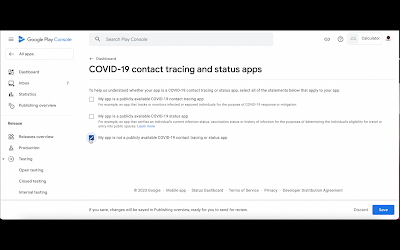
The next section is for specifying whether your app is a COVID-19 app or not. Provide correct information, press the Save button, and go back to the list of tasks by pressing the Dashboard link.
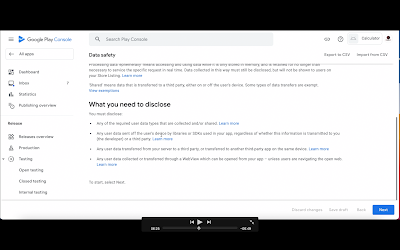
The next task is completing the information for your app regarding Data Safety. You have to disclose honestly whether your app collects, transfers, or shares user data that includes advertising ID, user’s personal information, voice recordings, etc. Go through this help page before filling up this form so that you have an idea of what is meant by data safety and user data. Then, click the Next button and fill up the form honestly.
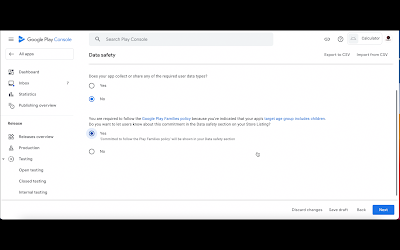
For example, my calculator app doesn’t even have advertisements so I will say no to all types of user data. As the calculator’s target audience includes children under the age of 13 years, I need to also check the “committed to follow the Play Family policies” question. Press the Next button.
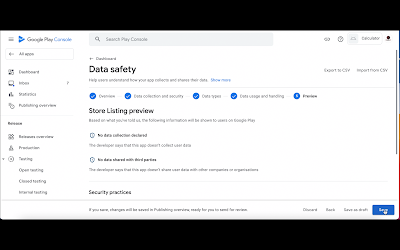
Press the Save button after verifying everything is correct in the summary of the Data Safety section. Go back to the list of tasks by pressing the Dashboard link.
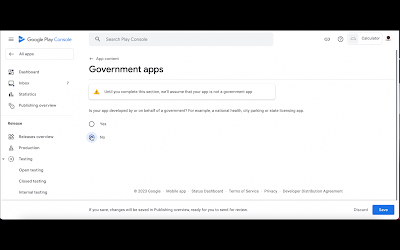
The next section is for specifying whether your app is created by a government or made for a government or not. Provide correct information, press the Save button, and go back to the list of tasks by pressing the App Content link.
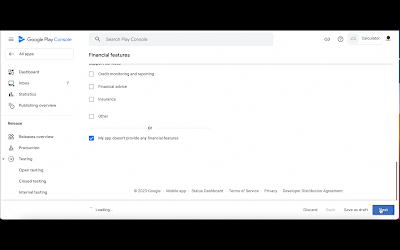
The next section is for specifying whether your app has any Financial Features. Provide the correct responses and press the Next button. Then, press the Save button on the summary page and go back to the list of tasks by pressing the App Content link.
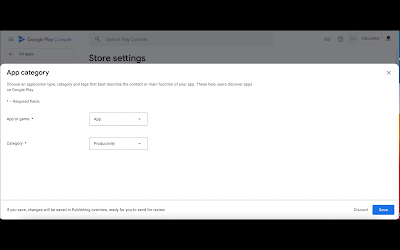
The next section is for specifying the app category and providing contact details so choose that section.
Press the Edit button.
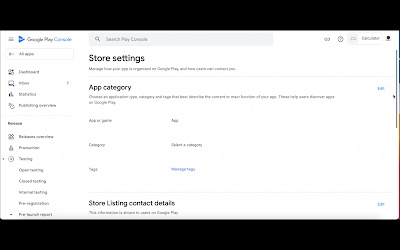
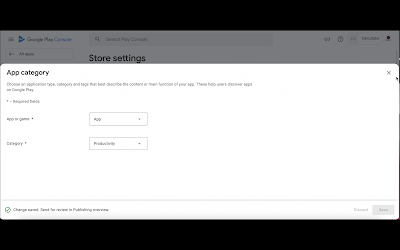
Specify whether the app is a game or an app i.e. application. Then, choose the app category. For example, I will choose the productivity category for a calculator app. Press the Save button.
Press the cross ❌ button to exit the dialog.
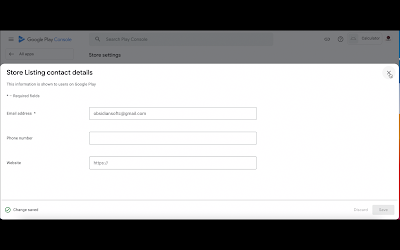
Now, you have to provide the contact details so again, press the Edit button.
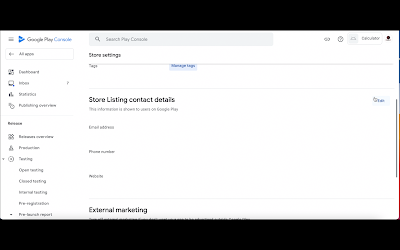
Provide the required email address. The rest of the fields are not required. Press the Save button to save the changes.
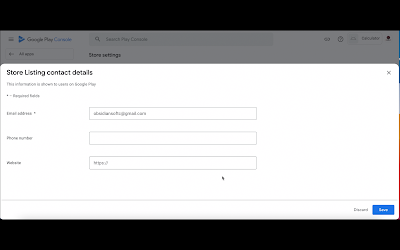
Press the cross ❌ button to exit the dialog.
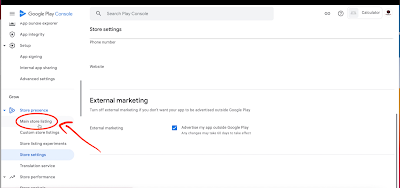
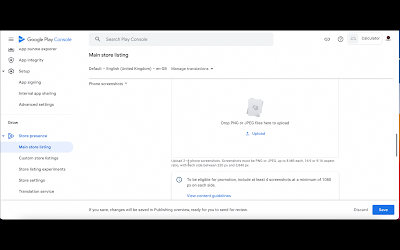
Now, we need to provide information and graphic assets for our app’s page on the Google Play Store. So, scroll down on the left-hand side and choose Main Store listing within the Store Presence option.
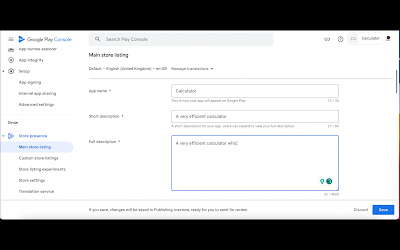
Provide the App name, short description and long description.
Upload app icon (512 x 512 pixels) and feature graphic (1024 x 500 pixels).
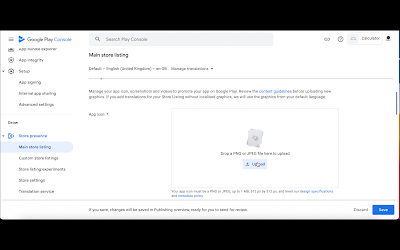
Upload 2-8 screenshots for phone, 7-inch tablet and 10 inch tablet respectively and press the Save button.
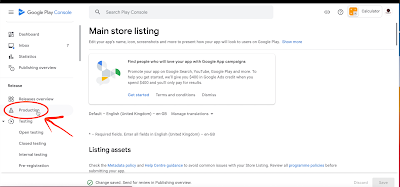
Now, we have to upload our app bundle so scroll up on the left-hand side and under Release, choose the Production option.
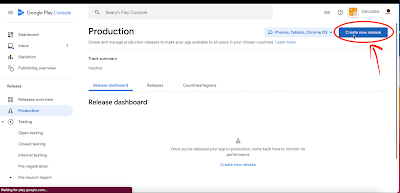
Press on the Create new release button.
Now, we need to choose a signing key before uploading the app bundle. So, click on Choose signing key option.
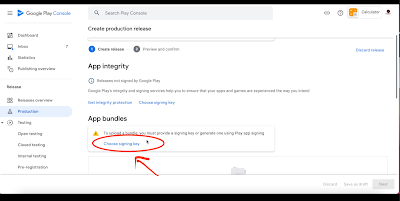
Choose the recommended option of using a Google-generated key.
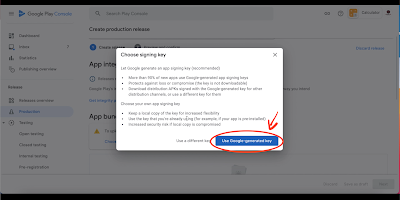
The app signing key will be generated so now, you can upload your app bundle.
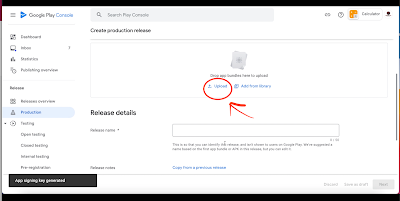
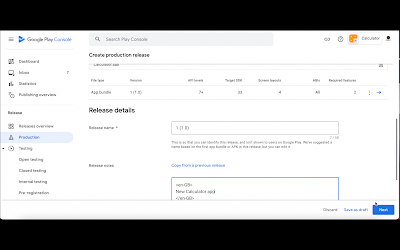
Provide release details. Everytime, you upload an app bundle, you need to tell your users what has been added or updated in the app bundle. Press the Next button.
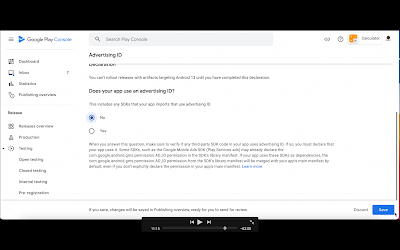
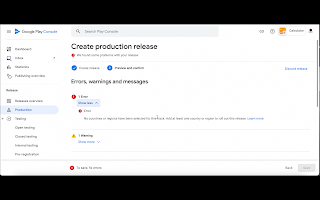
I got some errors after I uploaded my app bundle and pressed the Next button. There were two errors. First, for Android 13, you have to complete a declaration for Advertising ID. So, press on the Complete declaration link.
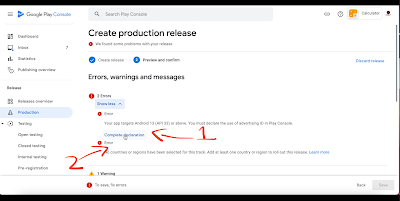
Choose whether your app uses Advertising ID and press the Save button. In my case, the calculator app doesn’t have ads so I can choose No.
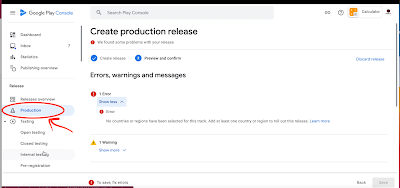
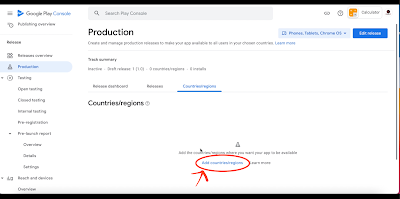
Press the browser’s back button to go back to where the errors were being shown. The second and last error was that I forgot to specify the countries where my app should be available.
Go back to the Production section.
Click on the Countries/regions link.
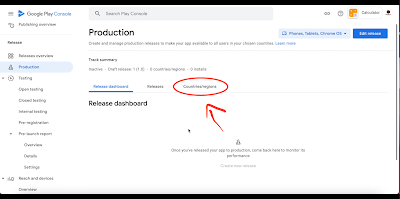
Click on the Add Countries/regions link.
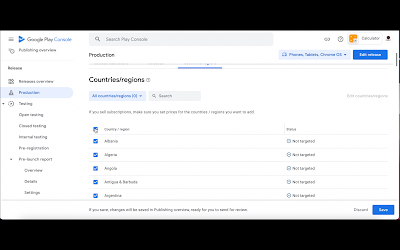
Click on the topmost checkbox to select all countries.
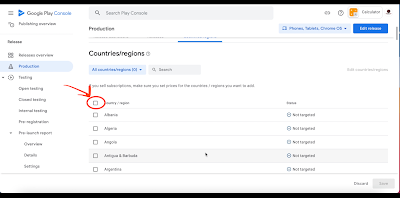
Press the Save button.
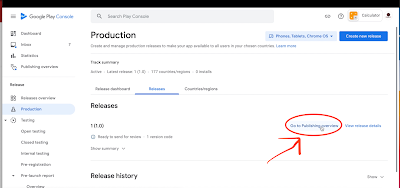
Press on the Publishing overview link on the left-hand side.
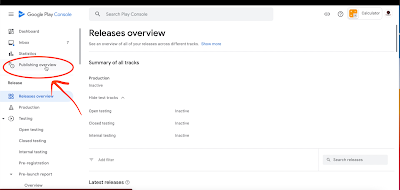
Click on the Dashboard link.
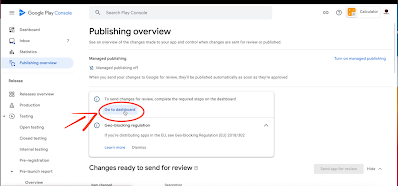
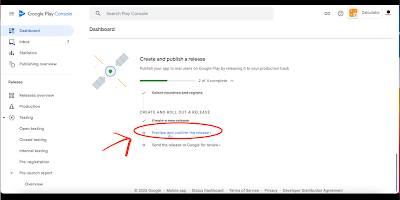
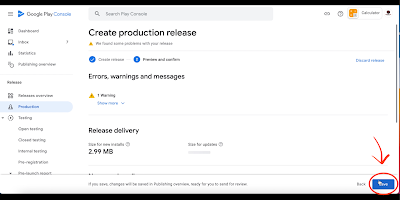
It is recommended to publish an app for testing first but for the sake of this tutorial, I will directly publish an app to Google play Store which means that it will be available for all users and not just the testers. Scroll down to the Create and publish a release section and click on the Preview and confirm a release link.
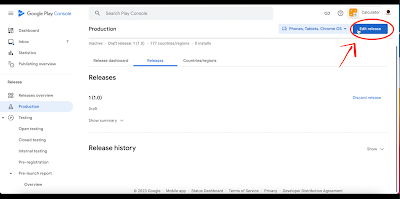
On the page that opens up, press the Edit Release button.
Press the Next button here.
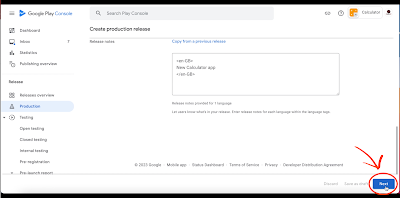
As you can see that now all the errors are gone so press the Save button.
Click on the Publishing overview link.
Now, this is the most important button. Pressing the Send for Review button will send this new app for review and after a successful review, it will be available for download from its own page on Google Play Store.
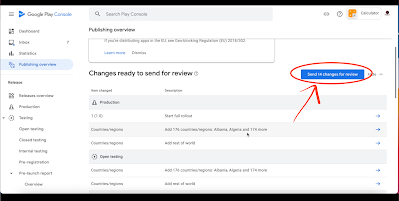
Remember that every time you make some change to the store listing information or upload a new app bundle, you have to send the change(s) for review.
So, this is it. This is a step-by-step tutorial for publishing an app to the Google Play Store. If you face any issue, you can comment below and I will answer your question as soon as possible.
If you like my tutorials, consider supporting me:
Below is the video tutorial for this written version:
Please like my videos and share them with your friends and family. Also, subscribe to my channel and press the bell icon so you don’t miss any of the great projects I have planned for you.
https://www.youtube.com/c/obsidiansofteducation
Please like my Facebook page and Instagram page for more educational resources and tips.
Facebook: https://www.facebook.com/ObsidianSoftClasses
Instagram: https://www.instagram.com/obsidiansoftapps/
Pinterest:
https://www.pinterest.co.uk/obsidiansoft/_created
For links to free educational apps, have a look at the educational apps page