Hello friends, and welcome to Obsidian Soft,
In this tutorial, I’ll show you how to create your own custom extension for MIT App Inventor — using Niotron IDE — completely online, with no software installation.
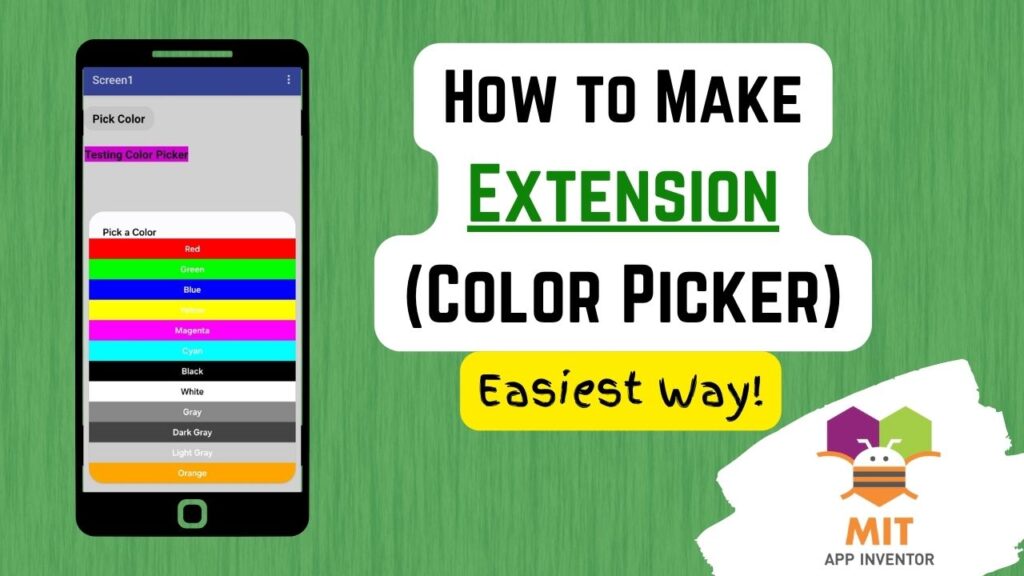
We’ll create a fun and useful color picker extension that allows users to select from 12 different colors in a pop-up window. Let’s have a look at the demo.
You can see how useful this extension can be in your drawing or doodle apps.
So, let’s begin.
Go to 👉 https://my.niotron.com/ and sign in using your Google account.
Click on Extension IDE on the left. We’re using Niotron’s online IDE because it’s the easiest and most beginner-friendly way to make extensions for MIT App Inventor or Niotron. We don’t need to download or install anything, such as Git or Ant.
Start a new project. Name it ColorPicker. The package should have a name like this: com.yourname.projectname. So, I will name it com.obsidiansoft.colorpicker. Add a short description, and you can optionally give an icon here….but it has to be a URL.
For this purpose, I downloaded a free color picker icon from
https://www.flaticon.com/free-icon/color-picker_2867978 (Special thanks to the color picker icon created by iconixar)
Then, I uploaded it to Google Drive. I changed its sharing access to public by choosing anyone can see and then copied the link. And pasted it in Niotron IDE in the space for icon URL.
A disclaimer here: the icon URL doesn’t always work.
Click on Continue button. You will soon see a sample extension generated for you on the left.
Now, this is Java. I know most of you are unfamiliar with Java. The great thing about the advent of AIs like ChatGPT is that you can ask it to write the extension for you. However, you still need to know a little bit to make changes. So, let’s quickly go over this code.
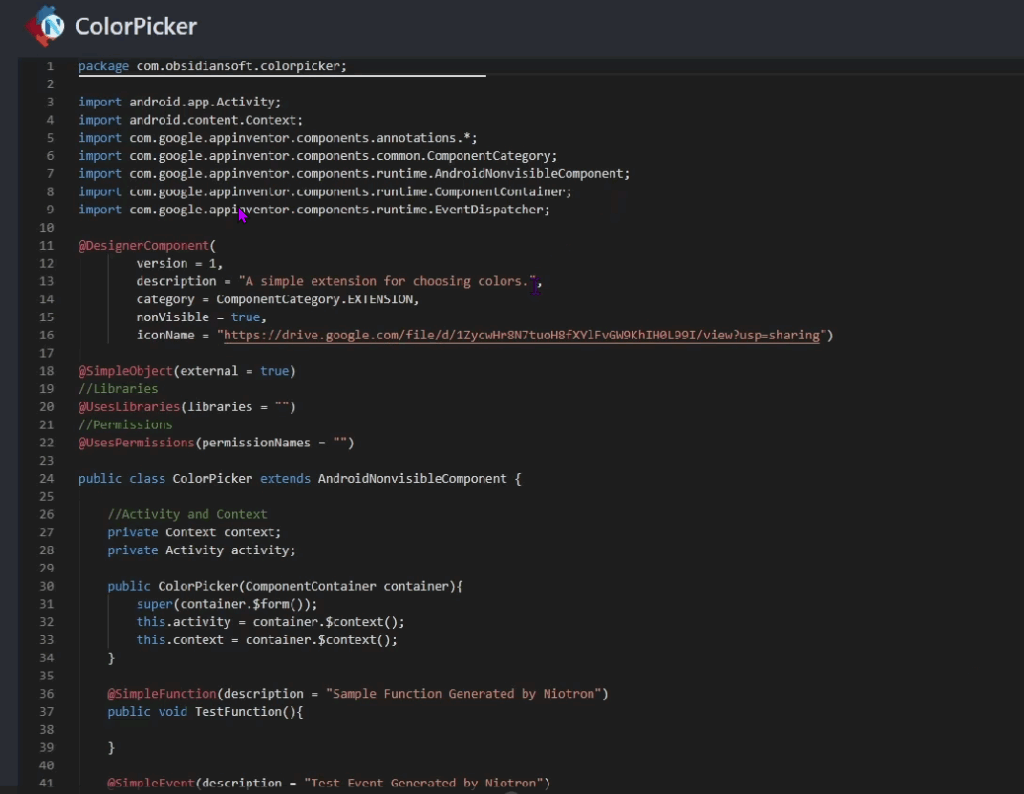
- package com.obsidiansoft.colorpicker; is just your project’s address.
- Those lines with import in front of them are like “tools” or “ingredients” that the extension needs for accessing the phone’s screen, app data, and for showing up in MIT App Inventor’s designer and blocks section.
- @DesignerComponent is how your extension looks in the designer section of MIT App Inventor.
- @SimpleObject(external = true) means it’s a simple object users can add blocks for.
- @UsesPermissions(permissionNames = “”) specify any special permissions such as camera, internet here.
- public class ColorPicker extends AndroidNonvisibleComponent { This is just telling that it is a component that doesn’t show up visibly and does its work in the background.
- context helps access resources,
- activity helps show things like dialogs or popups.
- public ColorPicker(ComponentContainer container) is the constructor. This runs when the user adds your extension to their project. It connects your extension to the app’s screen and environment.
Till now, all extensions are almost identical. The difference comes when we come to part of simple functions and simple events.
- Simple functions, such as TestFunction, generated here, will become a block in App Inventor
- Simple events, such as TestEvent generated here, will become an event in App Inventor.
Now, you can use ChatGPT to make your Java simple functions and events for you. But remember that your import statements will also change depending on what tools you use inside your function. For example, I need to show dialogs and buttons for my color picker, so you will see more import statements in the code that I will give to you.
This is the code: you can copy paste it entirely too, but I would recommend changing your package name to your actual one 😉 and also not using the icon URL given in this code too as that is just a place holder.
package com.obsidiansoft.colorpicker;

import android.app.Activity;
import android.app.AlertDialog;
import android.content.Context;
import android.graphics.Color;
import android.view.View;
import android.widget.Button;
import android.widget.LinearLayout;
import android.widget.ScrollView;
import android.widget.Toast;

import com.google.appinventor.components.annotations.*;
import com.google.appinventor.components.common.ComponentCategory;
import com.google.appinventor.components.runtime.AndroidNonvisibleComponent;
import com.google.appinventor.components.runtime.ComponentContainer;
import com.google.appinventor.components.runtime.EventDispatcher;

@DesignerComponent(
        version = 1,
        description = "A simple extension for picking colors.",
        category = ComponentCategory.EXTENSION,
        nonVisible = true,
        iconName = "https://i.postimg.cc/XYZ/color-picker.png")

@SimpleObject(external = true)
public class ColorPicker extends AndroidNonvisibleComponent {

    private Context context;
    private Activity activity;

    public ColorPicker(ComponentContainer container) {
        super(container.$form());
        this.activity = container.$context();
        this.context = container.$context();
    }

    @SimpleFunction(description = "Show a simple color picker dialog.")
    public void ShowColorPicker() {

        final int[] colors = {
                Color.RED, Color.GREEN, Color.BLUE, Color.YELLOW,
                Color.MAGENTA, Color.CYAN, Color.BLACK, Color.WHITE,
                Color.GRAY, Color.DKGRAY, Color.LTGRAY, Color.parseColor("#FFA500")
        };

        final String[] colorNames = {
                "Red", "Green", "Blue", "Yellow",
                "Magenta", "Cyan", "Black", "White",
                "Gray", "Dark Gray", "Light Gray", "Orange"
        };

        final AlertDialog dialog = new AlertDialog.Builder(context).create();

        ScrollView scrollView = new ScrollView(context);
        LinearLayout mainLayout = new LinearLayout(context);
        mainLayout.setOrientation(LinearLayout.VERTICAL);
        scrollView.addView(mainLayout);

        for (int i = 0; i < colors.length; i++) {
            final int selectedColor = colors[i];
            final String selectedName = colorNames[i];

            Button btn = new Button(context);
            btn.setText(selectedName);
            btn.setBackgroundColor(selectedColor);
            btn.setTextColor(i == 7 ? Color.BLACK : Color.WHITE);
            btn.setPadding(10, 10, 10, 10);

            btn.setOnClickListener(new View.OnClickListener() {
                @Override
                public void onClick(View v) {
                    Toast.makeText(context, "You picked: " + selectedName, Toast.LENGTH_SHORT).show();
                    GotColor(selectedColor);
                    dialog.dismiss();
                }
            });

            mainLayout.addView(btn);
        }

        dialog.setTitle("Pick a Color");
        dialog.setView(scrollView);
        dialog.show();
    }

    @SimpleEvent(description = "Triggered when a color is chosen.")
    public void GotColor(int colorValue) {
        EventDispatcher.dispatchEvent(this, "GotColor", colorValue);
    }
}
Click the save button at the top and then click the compile button. An AIX file for your extension should be successfully downloaded to your computer to, most probably, your downloads folder.
Now, let’s test our new extension out.
Open up MIT App Inventor. Start a new project.
In designer view, o to the Extensions section. It comes on the left towards the very bottom. Click on Import Extension → Choose File → Upload your .aix file.
Drag your ColorPicker extension into the project workspace.
Add a button from the UserInterface palette. Rename it to pickColorBtn and change the text accordingly. Add a label for preview. I am just going to make its font size bigger.
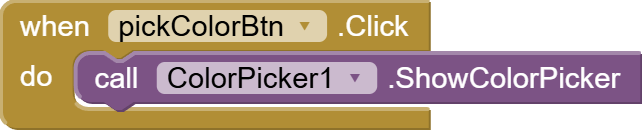
In the blocks section, get the button click event. Click on your custom extension, and you can see the simple function and event visibly here. Call the extension’s showColorPicker in the button click event. And get the extension’s GotColor Event, and here set the label’s background color to the color returned by the event.

Too complicated process for you. No worries 😉 You can download the extension (aix) file from here:
https://github.com/amnaMahmoodObs/ColorPickerExtension/releases/tag/v1.0.0
I hope you liked this easy way of making extensions for MIT App Inventor or even Kodular.
You can also check out the video tutorial for this project on my channel.
Please like my tutorials and share it with your friends and family. Also, subscribe to my channel and press the bell icon so you don’t miss any of the great projects I have planned for you.
https://www.youtube.com/c/obsidiansofteducation
Please like my Facebook page and Instagram page for more educational resources and tips.
Facebook: https://www.facebook.com/ObsidianSoft/
Instagram: https://www.instagram.com/obsidiansoftapps/
Pinterest: https://www.pinterest.com/obsidiansoft/
For links to free educational apps, have a look at the educational apps page